Build your own HMI
Register a standalone OIDC application and call the Hub's GraphQL API from your own login screen and dashboard — the same API the control plane uses.
Switch to Khorde Cloud to see the same HMI pointed at the hosted platform instead.
This picks up where Connect a REST agent left off — a Hub with an agent already reporting data. The steps below don't depend on the agent being REST specifically, just on there being something to query.
The control plane is for provisioning — a real product needs its own HMI. The Hub doesn't care what that HMI is built with, only that it shows up with a valid token from its own registered app. Same idea as the agent's service account, but for a human-facing app: Apps → New app in the control plane. Redirect URI is wherever your app runs; add the same URI under Post-logout redirect URIs too — sign-out fails without it — and turn on Dev mode for a plain http://localhost URI. It's a public client (PKCE), so there's no secret to protect.
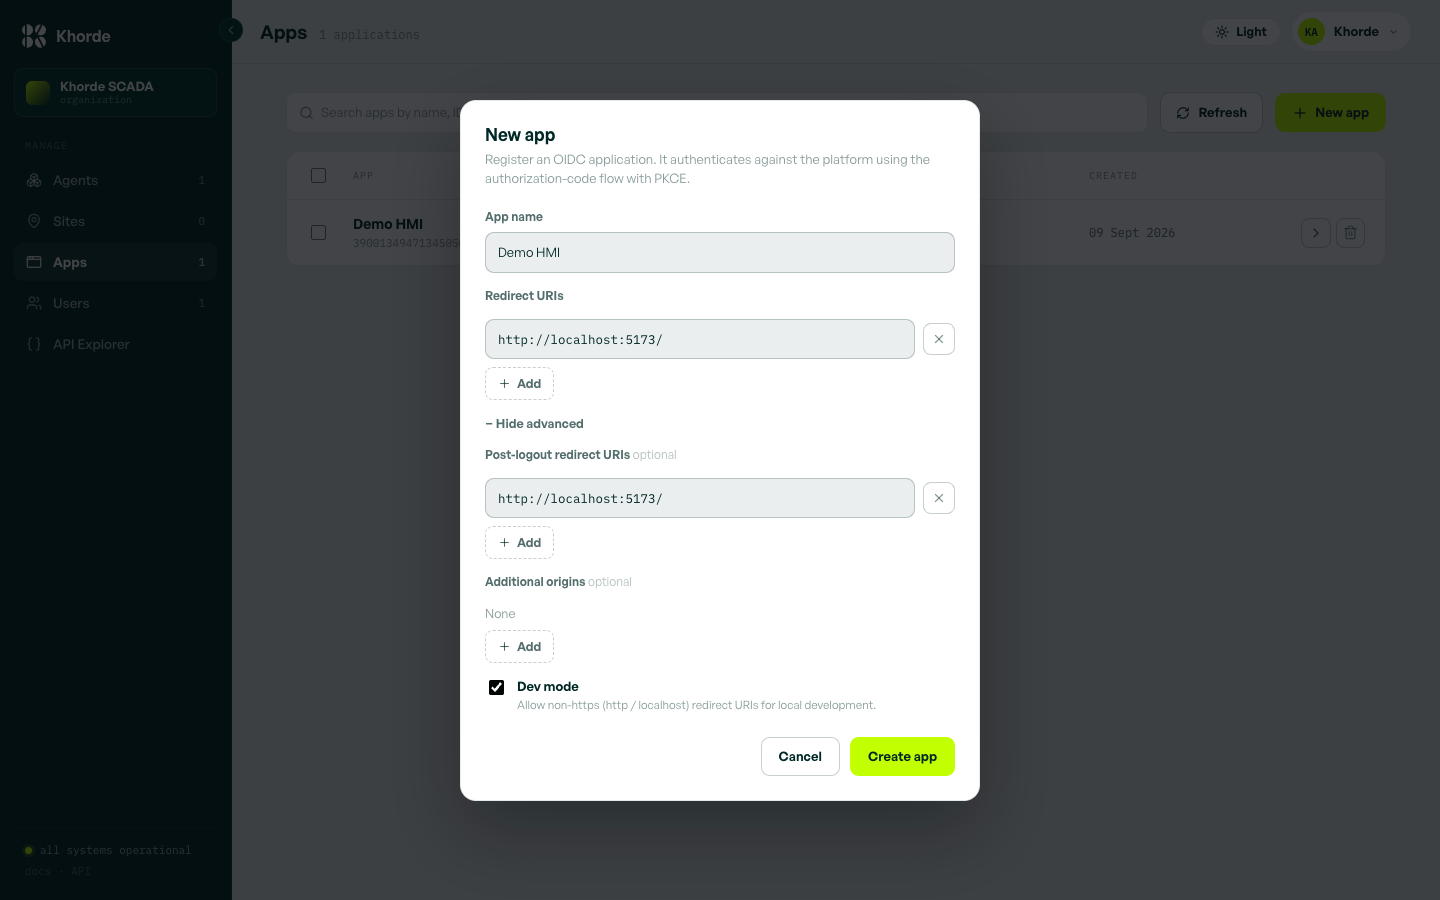
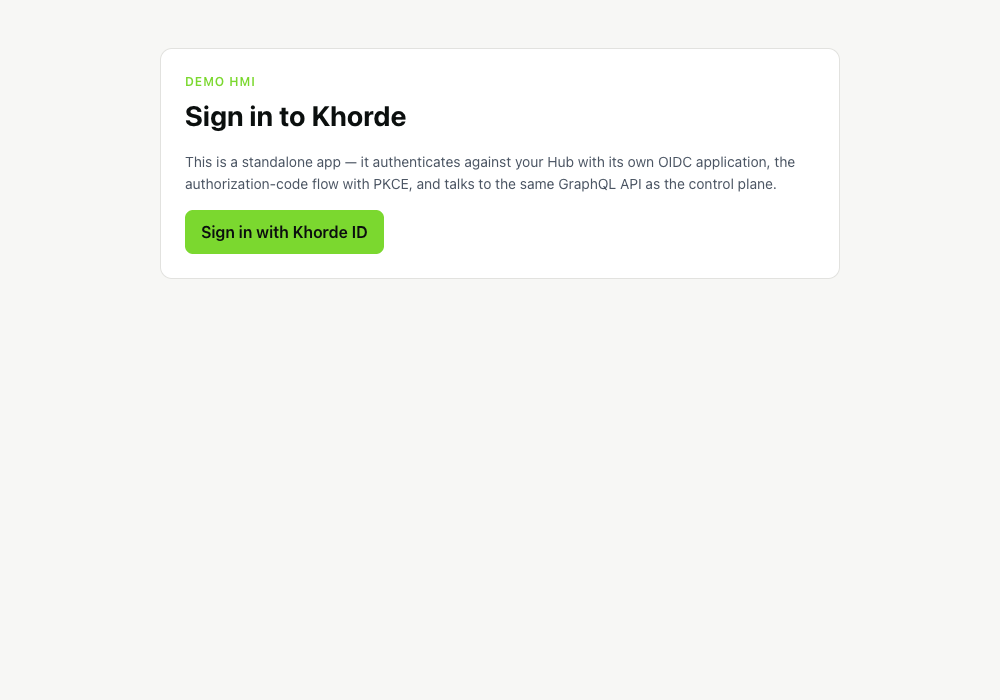
khorde-io/hmi-starter is a small React + TypeScript app doing exactly this — a login screen and a dashboard running the queries and subscription from this guide. Clone it, drop in your own client ID, and it works against your local Hub as-is.
oidc-client-ts handles the redirect and the PKCE exchange — this is the whole login side, no backend involved:
const AUTHORITY = "http://auth.localhost:9310"; // your Hub's IdP
const CLIENT_ID = "…";                         // from Apps → New app
const REDIRECT_URI = `${window.location.origin}/`;

// These two put the SCADA project (and role grants) on the access token —
// without them the Hub's GraphQL API rejects it.
const SCOPES = [
  "openid",
  "profile",
  "email",
  "urn:zitadel:iam:org:project:id:khorde_scada:aud",
  "urn:zitadel:iam:org:projects:roles",
];

export const userManager = new UserManager({
  authority: AUTHORITY,
  client_id: CLIENT_ID,
  redirect_uri: REDIRECT_URI,
  post_logout_redirect_uri: REDIRECT_URI,
  response_type: "code",
  scope: SCOPES.join(" "),
  userStore: new WebStorageStateStore({ store: window.localStorage }),
});
Queries and mutations are a fetch with a Bearer header, same as curl earlier in this guide. Subscriptions go over graphql-ws against that exact same URL, just upgraded to a WebSocket — the one gotcha is that the Hub reads the token from the WebSocket's connectionParams as { token }, not an Authorization header:
// Queries and mutations: a plain POST with the token as a Bearer header.
const res = await fetch("http://localhost:8085/", {
  method: "POST",
  headers: { "Content-Type": "application/json", Authorization: `Bearer ${token}` },
  body: JSON.stringify({ query, variables }),
});

// Subscriptions: graphql-ws against the same URL, upgraded — the Hub reads
// the token from connectionParams as { token }, not an Authorization header.
const client = createClient({
  url: "ws://localhost:8085/",
  connectionParams: () => ({ token }),
});
client.subscribe({ query, variables }, { next: (result) => {/* ... */ } });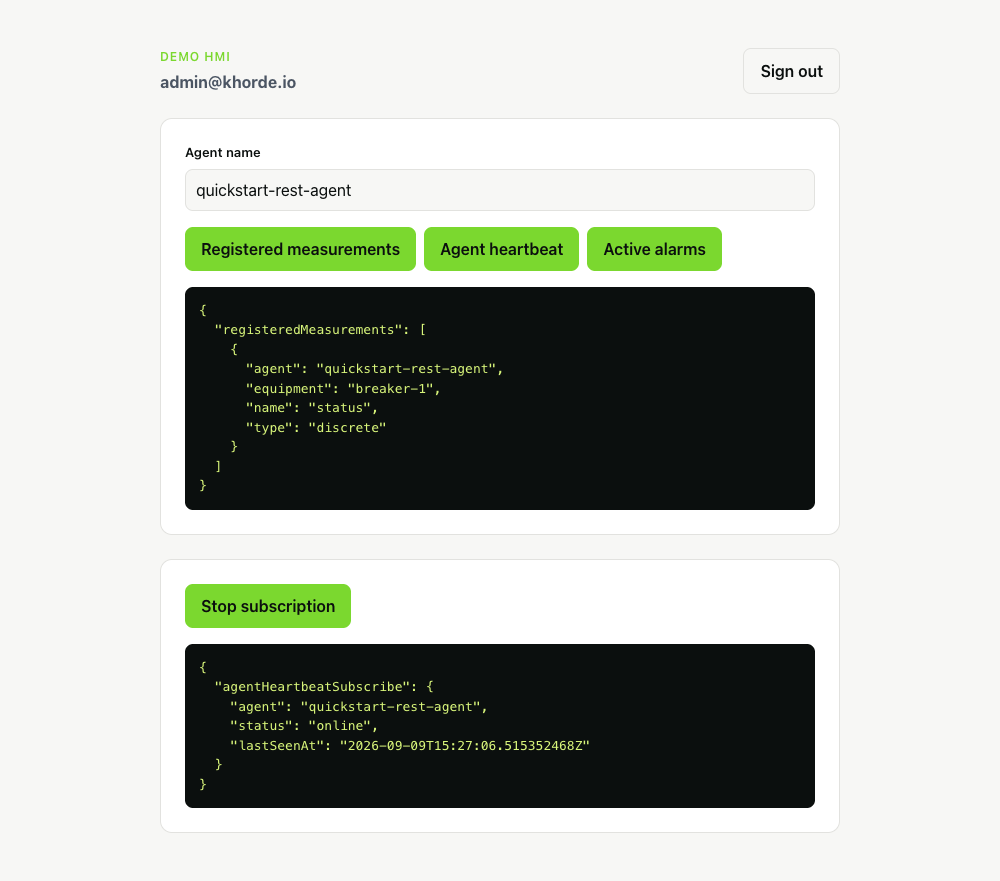
Connect more agents
Every agent — REST or otherwise — is provisioned the same way, so your HMI keeps working as you add more. Connect a REST agent walks through creating and configuring one.
Explore the GraphQL API
Everything an HMI needs — measurements, alarms, commands — is served over GraphQL on the same :8085. Schema reference is on the Docs page.